
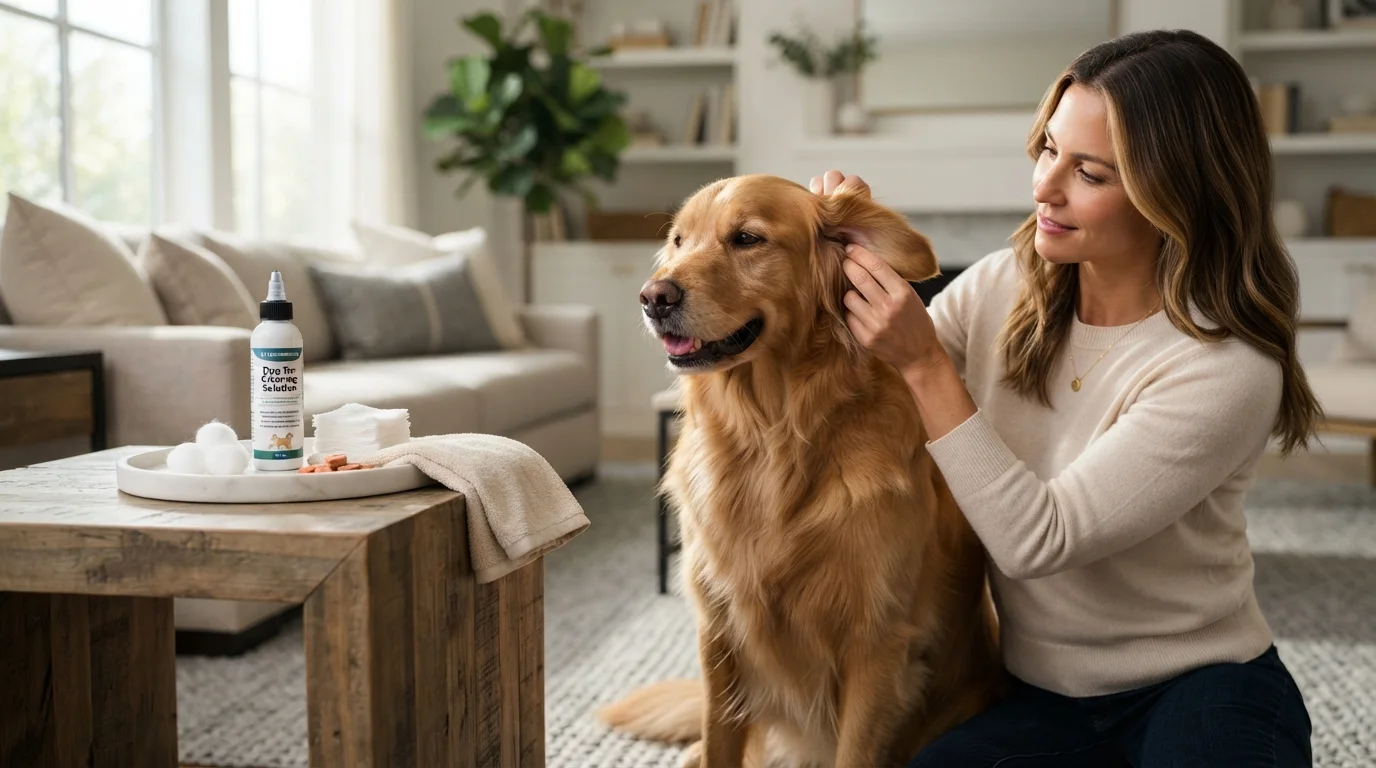
Cleaning your dog’s ears can be an easy part of home grooming when you use the right method. But cleaning too often, using the wrong products, or pushing debris deep into the ear can cause irritation.
Some dogs need regular ear cleaning, while others may rarely need it. Your dog’s breed, ear shape, allergies, swimming habits, and individual needs can all affect how often cleaning is needed.
The good news is that you can safely clean healthy dog ears at home when your veterinarian has recommended routine cleaning. This guide explains what you need, how to clean your dog’s ears step by step, what to avoid, and when it’s better to see a veterinarian.
Table of Contents
Do Dogs Need Their Ears Cleaned?
Not every dog needs regular ear cleaning.
Healthy dog ears are usually comfortable and free from strong odors, significant discharge, redness, or swelling. Some dogs may need occasional cleaning, while dogs prone to ear problems may need it more often.
Over-cleaning can irritate the ear canal. So, don’t clean your dog’s ears simply because a calendar says it’s time.
Instead, check your dog’s ears regularly. Your veterinarian can help you decide whether your dog needs routine cleaning and how often to do it.
What You Need to Clean Your Dog’s Ears
You don’t need many supplies for basic ear cleaning.
Keep these items nearby:
- A veterinarian-recommended dog ear-cleaning solution
- Cotton balls or gauze
- A clean towel
- Small treats for positive reinforcement
Choose an ear cleaner made for dogs and follow your veterinarian’s recommendation when possible. Different cleaners are designed for different ear-care needs.
Avoid homemade mixtures unless your veterinarian specifically recommends one for your dog.
What You Should Never Put in Your Dog’s Ears
Some common household products can irritate sensitive ear tissue.
Don’t use Q-tips inside the ear canal
Cotton-tipped swabs can push wax and debris deeper into the ear. They may also injure the ear canal or eardrum.
Use cotton balls or gauze instead. Only clean areas you can safely reach without pushing anything deep into the canal.
Avoid hydrogen peroxide
Hydrogen peroxide can irritate the sensitive tissues inside a dog’s ear. Veterinary sources recommend using an appropriate dog ear-cleaning solution instead.
Avoid vinegar and other DIY remedies
Internet recipes for homemade ear cleaners are not always safe. Irritating home remedies can make an inflamed ear worse.
If you’re unsure which product to use, ask your veterinarian.
How to Clean Your Dog’s Ears at Home
Once your dog is calm and you have your supplies ready, follow these steps.
Step 1: Choose a Calm Location
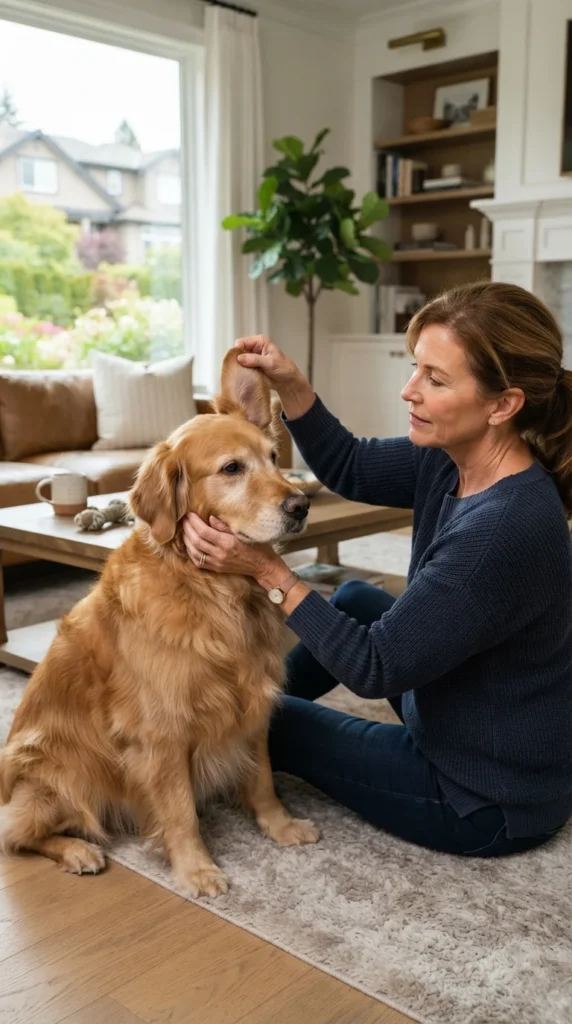
Pick a quiet area where your dog feels comfortable. A bathroom or another easy-to-clean room can be useful because your dog may shake their head during cleaning.
Have everything within reach before you begin.
Give your dog a small treat and gently touch the ears first. This can help create a more positive experience.
Step 2: Check the Ears First
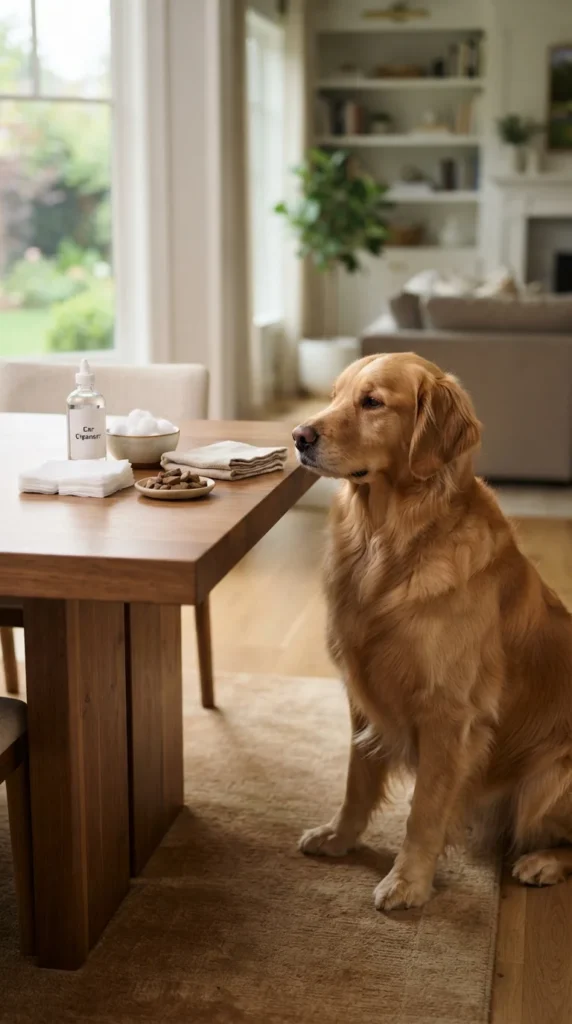
Look at both ears before applying any cleaner.
Healthy ears should not look very red, swollen, or painful. Watch for unusual discharge, a strong odor, or obvious irritation.
If the ear looks inflamed or your dog reacts painfully when you touch it, stop before cleaning and contact your veterinarian. These signs can indicate an ear problem that needs professional evaluation.
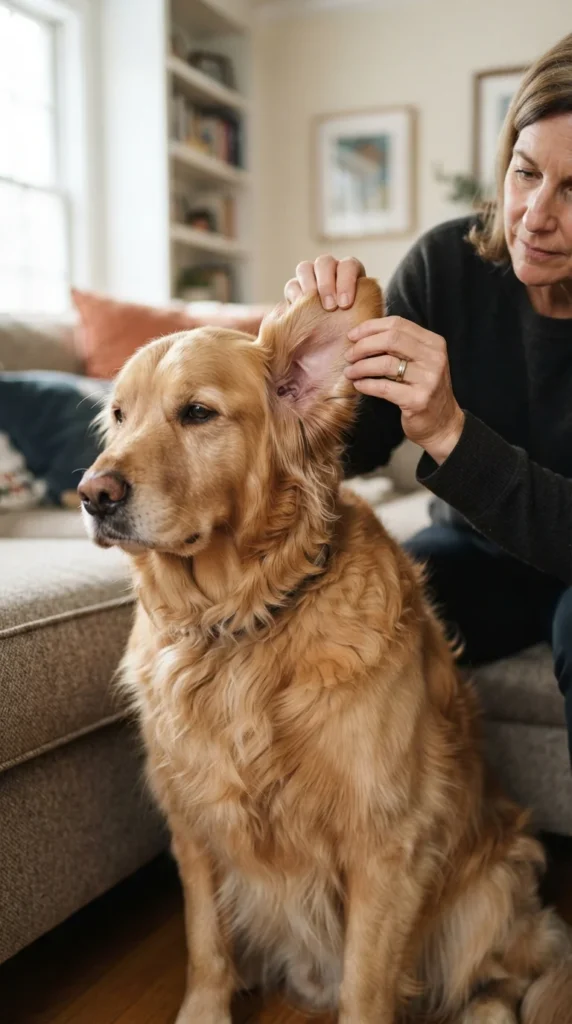
Step 3: Hold the Ear Flap Gently
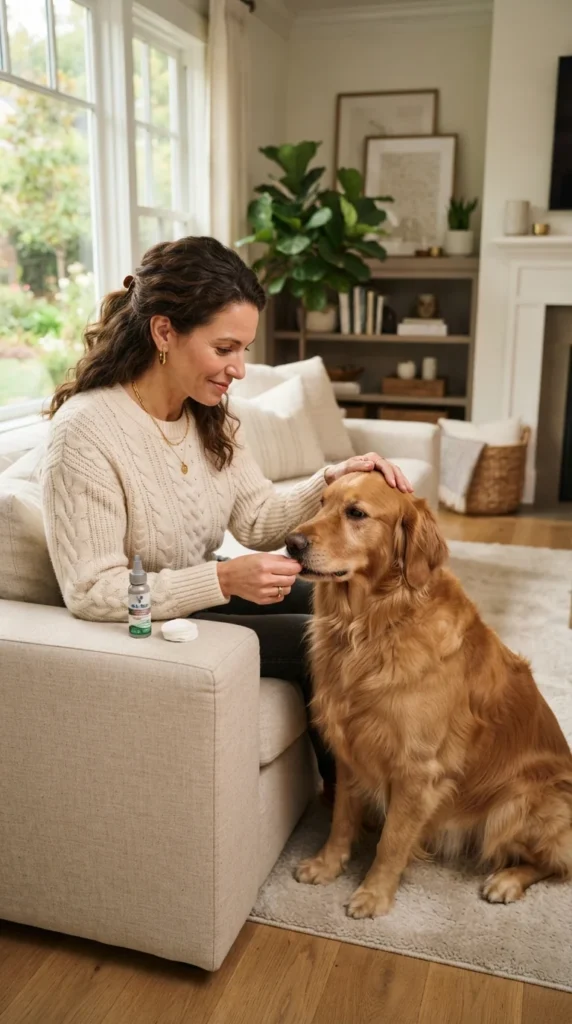
For many dogs, gently lifting the ear flap helps expose the ear opening.
Hold the ear flap comfortably without pulling hard. Your goal is simply to make the opening easier to reach.
Stay calm and gentle throughout the process.
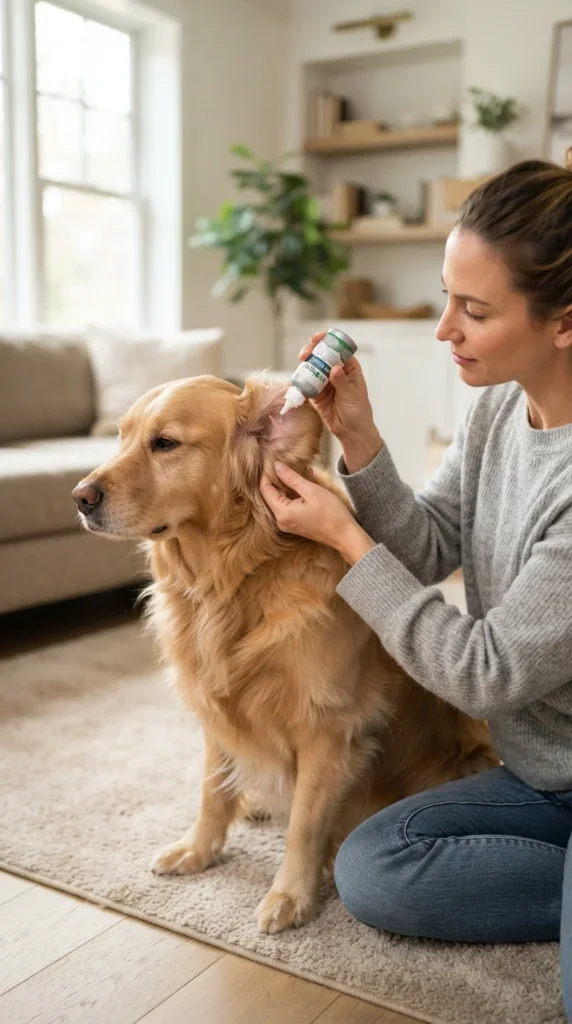
Step 4: Apply the Ear Cleaner
Use the veterinary-recommended ear-cleaning solution as directed.
For a typical cleaning, veterinary instructions may involve filling the ear canal with the cleaner. Keep the bottle tip from touching the ear because contact can contaminate the solution.
If your dog becomes frightened by liquid being poured directly into the ear, ask your veterinarian about an alternative technique.
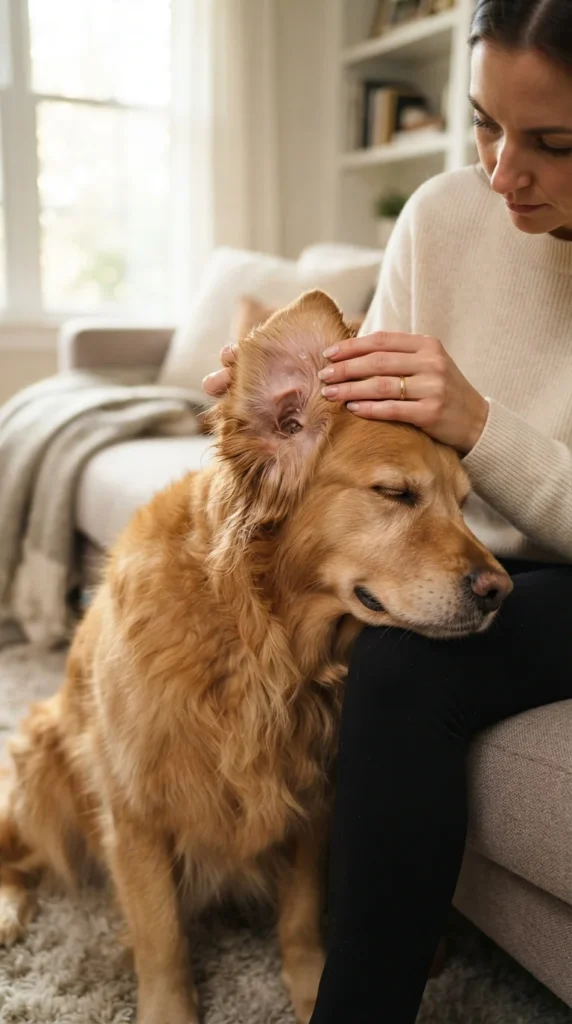
Step 5: Massage the Base of the Ear
Gently massage the base of your dog’s ear for about 30 seconds.
You may hear a soft squishing sound as the cleaner moves through the canal and loosens debris.
Keep the massage gentle. If your dog shows signs of pain, stop.
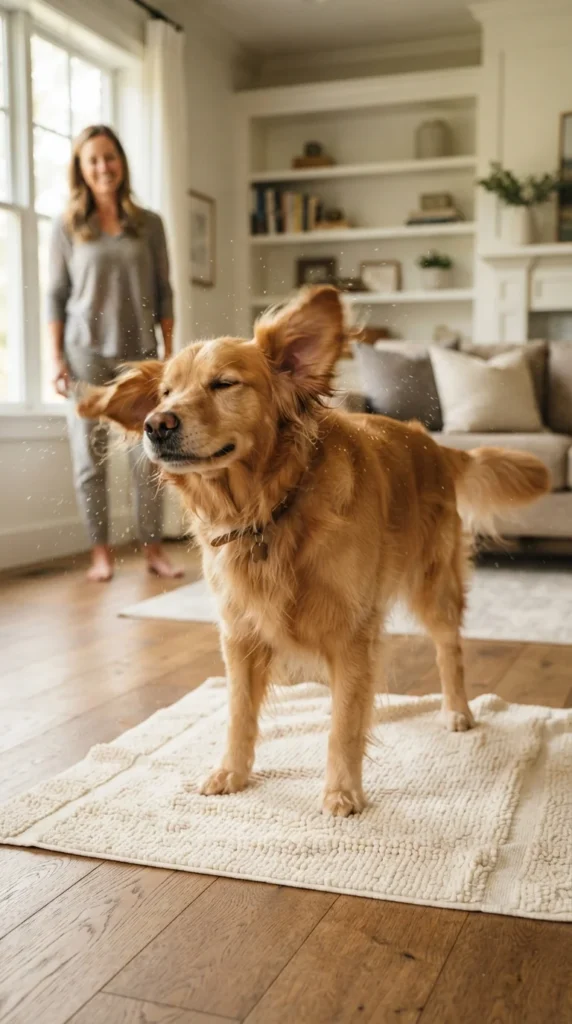
Step 6: Let Your Dog Shake
After the massage, allow your dog to shake their head.
This helps move loosened debris and remaining cleaning solution toward the outer opening of the ear. Keep a towel nearby because some cleaner may spray out.
Step 7: Wipe Away the Debris
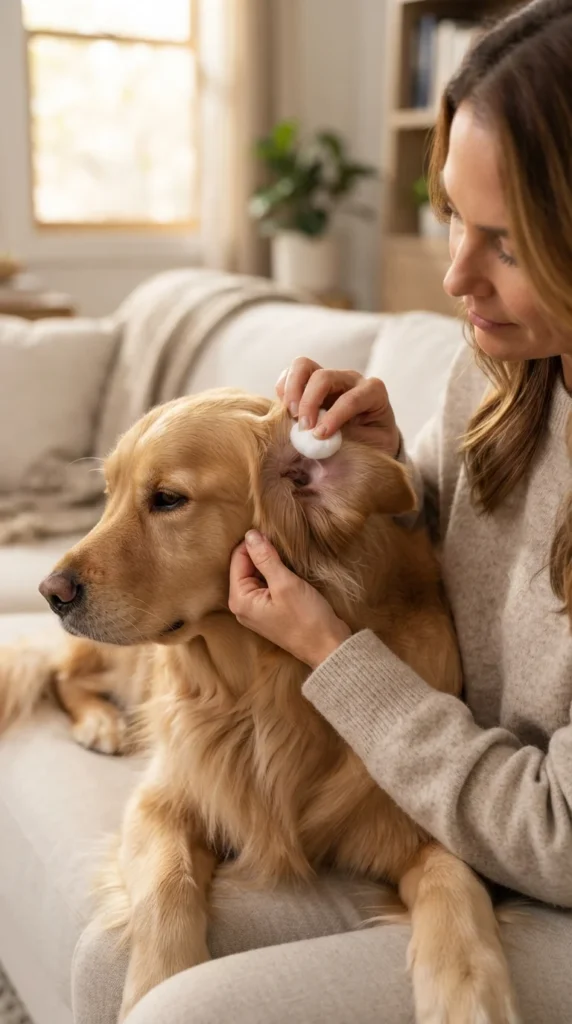
Use a clean cotton ball or gauze to gently wipe away loosened debris from the visible part of the ear.
Don’t push the cotton ball deep into the ear canal.
A simple rule is to clean only as far as you can safely reach without forcing anything deeper.
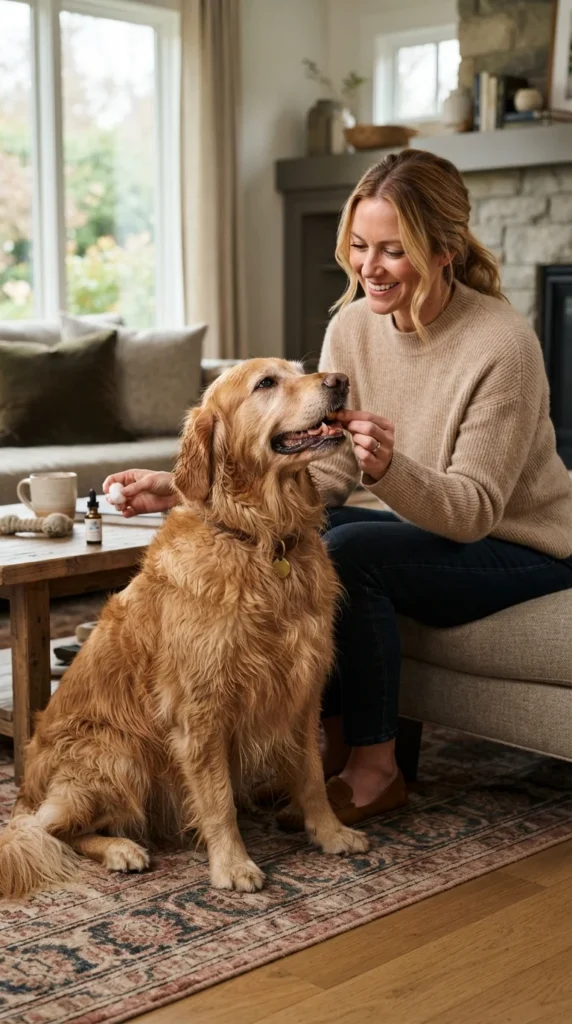
Step 8: Reward Your Dog
Give your dog praise and a small treat after cleaning.
This helps your dog build a positive association with ear handling. Over time, calm handling can make future ear checks easier.
Step 9: Repeat With the Other Ear
If both ears need cleaning, repeat the same gentle process on the other side.
Stop immediately if your dog appears painful, becomes very distressed, or develops an unusual reaction.
How Often Should You Clean Your Dog’s Ears?
There is no single cleaning schedule that works for every dog.
Some dogs with healthy ears may need little or no routine cleaning. Others may need more frequent cleaning because of recurring ear problems, allergies, ear shape, or frequent swimming.
Your veterinarian can recommend a schedule based on your dog’s individual needs.
Cleaning more often than necessary can irritate the ear canal. So, more cleaning does not always mean healthier ears.
How to Keep Your Dog’s Ears Healthy
Ear cleaning is only one part of good ear care.
Check the ears regularly
Take a quick look at your dog’s ears during normal grooming. Look for changes in color, odor, moisture, swelling, or discharge.
Keep ears dry
Moisture can contribute to ear problems. Dry your dog’s ears after swimming or bathing, following your veterinarian’s advice about appropriate drying products.
Don’t remove ear hair without advice
Some dogs have a lot of hair around their ear openings. But routinely pulling hair from the ear canal can cause irritation.
If hair is contributing to recurring ear problems, ask your veterinarian or a professional groomer what is appropriate for your dog.
Make ear handling positive
Touch your dog’s ears gently during calm moments. Reward relaxed behavior with praise or treats.
This can make regular ear checks much easier.
Signs Your Dog May Have an Ear Problem
Cleaning is meant for routine care. It should not replace veterinary treatment when an ear problem is present.
Contact your veterinarian if you notice:
- Red or swollen ears
- Strong or unusual odor
- Significant discharge
- Frequent head shaking
- Repeated ear scratching
- Pain when the ear is touched
- Your dog suddenly dislikes ear handling
- Head tilting or balance changes
- Repeated ear problems
Ear infections can have different underlying causes, including allergies, parasites, moisture, and other conditions. A veterinarian may need to examine the ear and identify the cause before recommending treatment.
What If Your Dog Has an Ear Infection?
Don’t try to treat a suspected ear infection with homemade cleaners.
Pain, redness, swelling, strong odor, discharge, or repeated head shaking can indicate an ear problem. Some infections can also involve deeper parts of the ear.
Your veterinarian can examine the ear and determine whether cleaning, medication, or additional treatment is needed.
If your dog has already been diagnosed with an ear infection, follow the cleaning and medication instructions provided by your veterinarian.
Common Dog Ear-Cleaning Mistakes
Cleaning healthy ears too often
Over-cleaning can irritate the ear canal. Clean according to your dog’s needs and veterinary advice.
Using Q-tips
Q-tips can push debris deeper and may damage delicate ear structures. Use cotton balls or gauze instead.
Using household products
Hydrogen peroxide, vinegar mixtures, and other DIY solutions can irritate inflamed ears. Use a suitable veterinary ear cleaner instead.
Ignoring signs of pain
Your dog should not have to tolerate painful ear cleaning.
If your dog cries, pulls away sharply, or shows clear discomfort, stop and contact your veterinarian.
Cleaning without checking first
Always look at the ears before cleaning.
If they are red, swollen, painful, or producing unusual discharge, professional evaluation is more appropriate than routine cleaning.
Simple Dog Ear-Cleaning Checklist
Before you start, make sure you have:
- Vet-recommended dog ear cleaner
- Cotton balls or gauze
- Clean towel
- Small treats
- Calm, comfortable space
Then:
- Check both ears.
- Make sure there are no obvious signs of pain or inflammation.
- Lift the ear flap gently.
- Apply the recommended ear cleaner.
- Massage the base gently.
- Let your dog shake their head.
- Wipe away loosened debris.
- Reward your dog.
- Repeat on the other ear if needed.
- Stop and contact your veterinarian if your dog shows pain.
FAQs About Cleaning Your Dog’s Ears
Can I clean my dog’s ears at home?
Yes, routine cleaning can often be done at home when your dog has healthy ears and your veterinarian recommends it. Use an appropriate dog ear cleaner and avoid putting cotton swabs deep into the ear canal.
Can I use hydrogen peroxide to clean my dog’s ears?
No. Hydrogen peroxide can irritate the sensitive tissues inside the ear. Use a veterinary-recommended dog ear-cleaning solution instead.
Can I use Q-tips to clean my dog’s ears?
Do not use Q-tips inside the ear canal. They can push debris deeper and may injure the ear canal or eardrum. Cotton balls or gauze are safer choices for wiping visible debris.
How often should I clean my dog’s ears?
It depends on your dog’s individual needs. Some dogs need little routine cleaning, while others may need more frequent care. Ask your veterinarian for a schedule if your dog has recurring ear problems.
Why does my dog shake their head after ear cleaning?
Some head shaking is normal after cleaning because dogs may shake out remaining solution and loosened debris. However, persistent shaking or signs of pain can indicate an ear problem and should be checked by a veterinarian.
What should healthy dog ears look like?
Healthy ears are generally comfortable, not strongly odorous, and free from significant redness, swelling, and discharge. Changes from your dog’s normal ear appearance deserve attention.
Should I clean my dog’s ears after swimming?
Dogs that swim frequently may need additional ear care to help keep their ears dry. Ask your veterinarian whether your dog needs a specific cleaning or drying product.
What should I do if my dog’s ear is red and painful?
Don’t continue routine cleaning if the ear is painful, red, swollen, or producing unusual discharge. Contact your veterinarian because these signs may indicate infection or another ear problem.
Bottom Line
Cleaning your dog’s ears at home can be simple when the ears are healthy and you use the right technique. Use a veterinarian-recommended cleaner, massage gently, let your dog shake, and wipe away visible debris without pushing anything deep into the canal.
Most importantly, don’t try to clean through pain or obvious inflammation. When your dog’s ears look abnormal or your dog seems uncomfortable, a veterinarian should check them first.